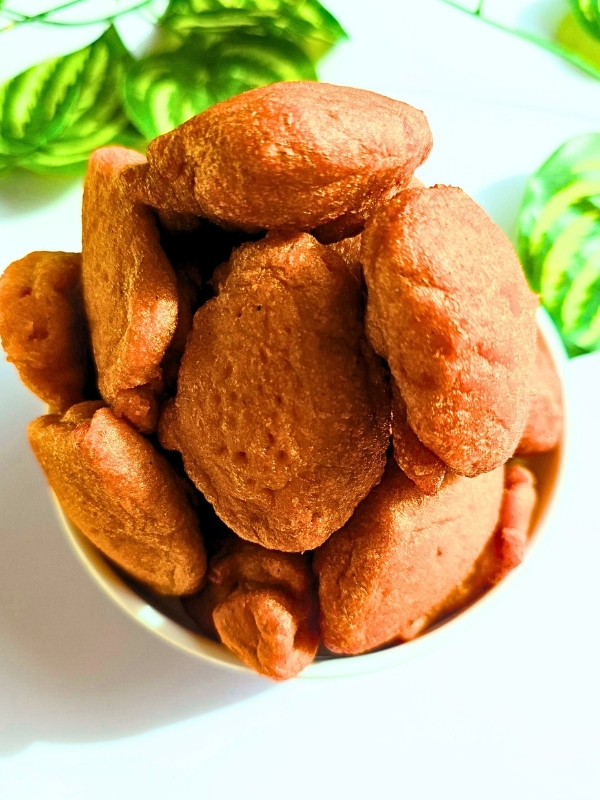
This is Easy Nigerian Akara Recipe
There are foods that do more than satisfy hunger; they carry memories. For me, akara (Nigerian bean cakes) which is also called African Bean Fritters is one of them. Each time I fry akara, the aroma instantly transports me back to my childhood mornings in Nigeria.
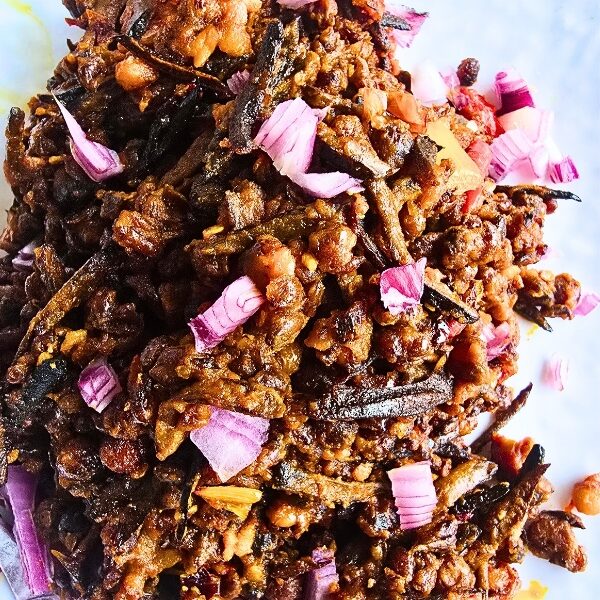
I can still picture my mother by the stove, her apron tied neatly, frying golden crispy balls that filled the whole neighborhood with a smell too tempting to ignore. Just like Awara Recipe (Tofu) Nigerian Akara should be tried for it is spicy
That memory inspired me to make akara again recently, not just for the taste, but to relive those moments of warmth and joy. If you’ve never made akara before or you want to reconnect with your roots, here’s how to prepare this delicious Nigerian breakfast, step by step.
Ingredients on Easy Nigerian Akara Recipe:
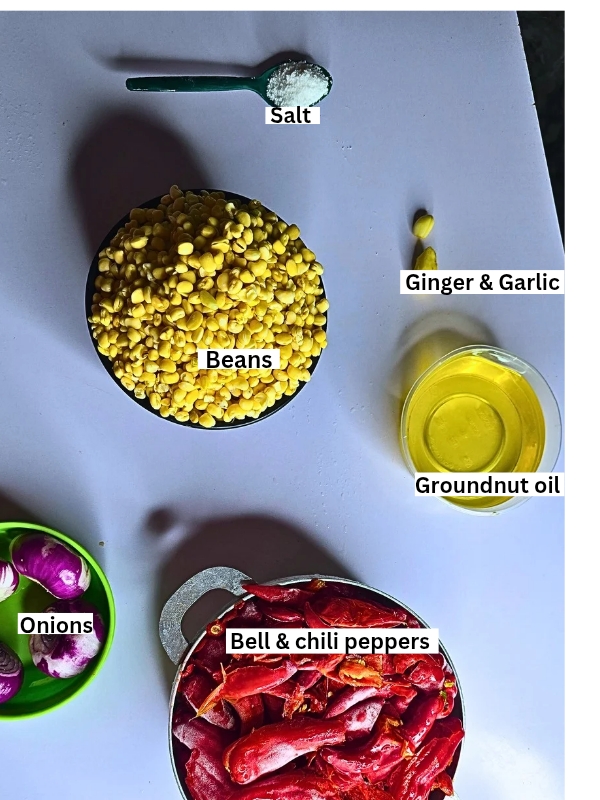
2 cups of beans (black-eyed peas or brown beans)
1 small piece of ginger
2 cloves of garlic
2 medium onions
1 bell pepper (tatashe)
Salt to taste
Groundnut oil (for frying)
These simple ingredients come together beautifully to form one of Nigeria’s most loved street foods — crispy outside, soft inside, and full of flavor on this post on how to make akara (bean cake)
Step 1: Wash and Peel the Beans-Easy Nigerian Akara Recipe
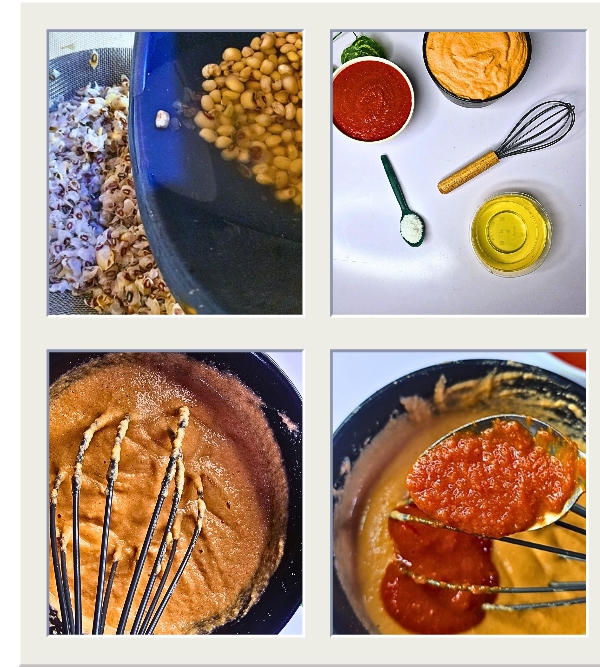
Start by pouring your beans into a large bowl. Add enough water to cover them completely and let them soak for a few minutes. Once they’ve softened a little, rub the beans gently between your palms to remove the husk.
After that, rinse several times until the water runs clear and the skins are completely gone. This peeling step is very important because it helps your akara turn out smooth and light.
Growing up, this was always a group activity in my home. My siblings and I would sit around a bowl of beans, chatting and laughing as we peeled together. It didn’t feel like work — it felt like love. Those small family moments still live in my heart, and that’s part of why akara feels so special to me today.
Step 2: Prepare the Aromatics
Next, peel your onions, garlic, and ginger. Wash them well along with your bell pepper. These are the key aromatics that will give your akara its signature flavor. The ginger and garlic add warmth, the onions bring sweetness, and the bell pepper adds color and a hint of spice.
As I prepared mine, the familiar scent brought back memories of early Saturday mornings — those peaceful hours before the day’s rush when my mother’s kitchen smelled like comfort and hope.
Step 3: Blend Everything to a Smooth Paste-Easy Nigerian Akara Recipe
Pour the peeled beans into a blender, add just a little water, and blend until smooth. Don’t add too much water — the paste should be thick enough to hold its shape.
After blending the beans, also blend the onion, garlic, ginger, and bell pepper separately into a smooth paste. When both mixtures are ready, pour some of the pepper mix into the blended beans.
Then, stir gently until everything is evenly combined. You’ll notice the aroma immediately — rich, earthy, and slightly spicy. It’s at this stage that I always pause for a moment. The smell alone brings back those childhood mornings when akara meant happiness was near.
Step 4: Season and Mix the Batter-Easy Nigerian Akara Recipe
Now add salt to taste and stir well. Some people whisk the mixture for a few minutes to make it lighter and fluffier, and I highly recommend it. Whisking helps incorporate air, which gives the akara that soft, spongy texture when fried.
If you want, you can add small chopped onions or extra bell pepper for texture, but keeping it simple gives you that traditional flavor most Nigerians grew up loving.
Step 5: Heat Your Oil-Easy Nigerian Akara Recipe
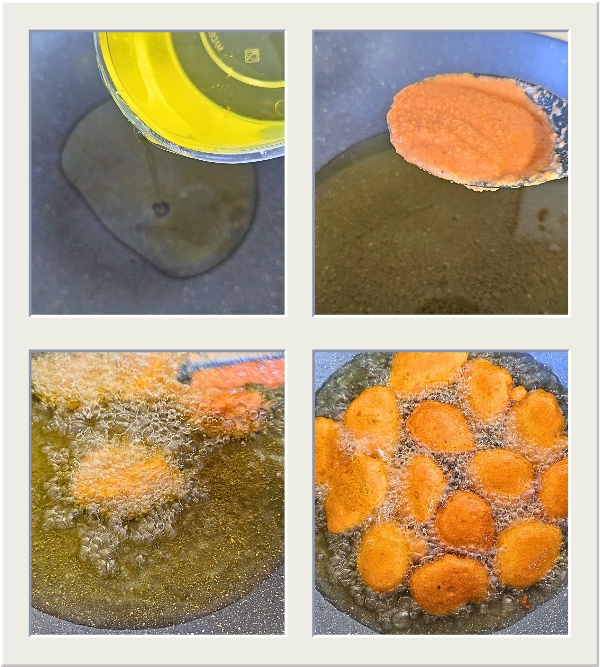
Pour enough groundnut oil into a deep frying pan — enough to cover the akara balls as they fry. Place the pan over medium heat and let the oil warm up gradually.
To know if it’s ready, drop a tiny bit of the batter into the oil. If it sizzles and floats to the surface, your oil is at the perfect temperature.
The sound of that first sizzle always reminds me of my mother smiling proudly as her akara began to fry. The scent filled the air so beautifully that even our neighbors would call out from their windows, saying, “Madam, this akara dey smell well oh!”
Step 6: Fry the Akara Balls
Using a tablespoon, scoop the mixture carefully and drop it into the hot oil. Do this gently so the batter keeps its shape. Fry a few at a time, turning them occasionally until they become golden brown on all sides.
Don’t rush this process. Let each akara cook slowly so the inside stays soft while the outside turns perfectly crisp. Once they’re done, remove them with a slotted spoon and place them on paper towels to drain any excess oil.
At this stage, the kitchen smells heavenly. The combination of beans, onions, and pepper frying together has a nostalgic pull — a scent that feels like home.
Step 7: Serve and Enjoy
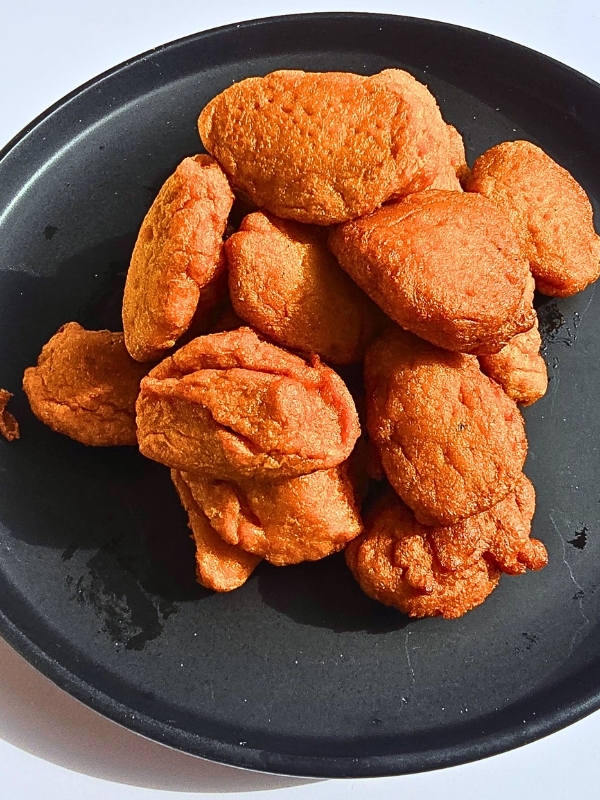
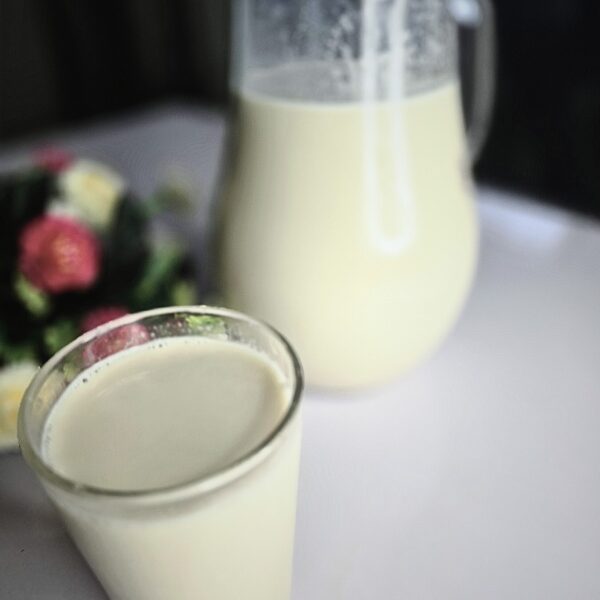
Fresh akara tastes best when eaten hot. You can serve it with pap (akamu), agege bread, or even soaked garri; whichever brings your comfort the most. For me, akara with pap remains unbeatable. The softness of the pap complements the crispness of the akara, creating the perfect Nigerian breakfast harmony.
Whenever I make akara, I always feel a wave of gratitude. This dish connects generations; from our grandmothers who made it with clay pots and wooden spoons to the modern kitchens where we recreate it today.
Easy Nigerian Akara Recipe: A Taste That Never Grows Old
What I love most about akara is its simplicity. It’s a humble dish that carries deep emotions and history. Each time I make it, I’m reminded of how food can tell stories; stories of family, laughter, and the beauty of ordinary mornings
Frequently Asked Questions on Easy Nigerian Akara Recipe
1. What is Akara?
Akara is a traditional Nigerian snack made from blended black-eyed peas, seasoned, and deep-fried into crispy bean cakes. In addition, it is often enjoyed as breakfast or a street food snack.
2. Can I make Akara at home in the US or UK?
Yes! Although it’s a Nigerian street food, all ingredients are available in African or international stores in the US and UK. As a result, you can easily fry Akara in a standard kitchen pan.
3. What beans are used to make Akara?
Traditionally, black-eyed peas are used. However, you can also try brown or red beans, but black-eyed peas provide the authentic texture and flavor.
4. How do I make Akara crispy and fluffy?
Soak and peel the beans properly, then blend into a smooth batter. Next, fry in hot oil, and avoid overcrowding the pan. This way, your Akara stays light, fluffy, and crispy.
5. Can I bake Akara instead of frying?
Yes, baking is possible for a healthier version. However, frying gives the classic crispy texture that most people love. Therefore, if you want authenticity, frying is recommended.
6. Can I freeze Akara?
Yes, let the Akara cool completely and store it in an airtight container or freezer bag. Then, reheat by frying or baking to restore its crispiness.
7. Is Akara healthy?
Akara is high in protein and fiber from beans. In addition, for a lighter option, you can bake or shallow-fry instead of deep-frying, which reduces calories.
8. How long does it take to make Akara?
Preparation and frying usually take 30–40 minutes. As a result, it’s a quick and easy snack or breakfast option for busy US or UK kitchens.
Conclusion on Easy Nigerian Akara Recipe (Bean Cake).
If you’ve been craving a true taste of Nigeria, try making akara from scratch. The steps are simple, the ingredients are basic, and the reward is a delicious reminder of how deeply food connects us to where we come from.
Every spoonful of batter, every sizzling sound, and every bite of crispy akara tells a story — one that’s rich with love, memory, and tradition.
You May Also Like: